How to Do the Perfect Cat Eye for Halloween

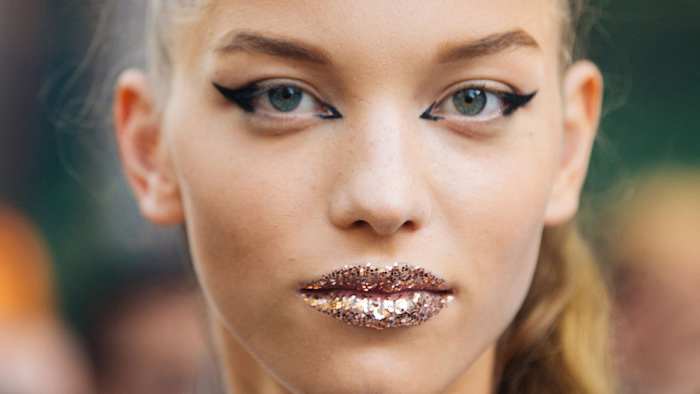
Melodie Jeng/Getty Images
Whether you’re into a minimal, barely-visible wing or you’re going for a Julia Fox extreme smoky moment, a cat eye is a happy medium that is both easy to achieve and super chic. It’s also perfect for the Halloween spooky season.
The first step is to secure a good primer. Primer isn’t always necessary, but it is a game changer, especially if you are opting for a pencil eyeliner or eyeshadow and an angled brush to create your cat eye. Maybelline has a great primer that is affordable and perfectly grippy. Milk Makeup’s Hydrogrip Primer would be 1 high-end and highly-rated alternative.
Then you must pick your poison (eyeliner). You have three options: liquid/felt eyeliner pen, pencil eyeliner or eyeshadow.
Eyeliner Option #1: Pencil
SI Swimsuit model Emily DiDonato uses the Maybelline Gel Pencil Eyeliner in the shade Smokey Brown to achieve her perfect dramatic cat eye. Her trick is to do her eyebrows first, see where they end and allow that to guide her eyeliner and “overall symmetry.”
She starts by lightly drawing on the outer half of her lower lash line and then drags it out beyond the edge of her eye toward the end of her eyebrow. “The next thing I’m going to do is the line on top of my eye,” she says. “I promise it gets worse before it gets better, just bear with me.” She then connects the eyeliner on her eyelid to the wing she created at the beginning and fills in any gaps between the two. To perfect her eyeliner and make it as sharp as possible, she takes a makeup wipe on her nail and precisely erases any unwanted edges and smudges.
Eyeliner Option #2: Liquid
If you want something a bit thinner and minimal, liquid eyeliner is a great option. Maybelline makes a good affordable felt-tip eyeliner ($7.99) similar to the high-end Benefit Roller Lash eyeliner pen ($22). The only catch is that it’s not as forgiving when you mess up. Start at the corner of your eye and direct the eyeliner up at the same angle as the outer edge of your lower lash line. Using one stroke, create a wing of the length you wish. Once you have done both eyes, check to make sure they are even or as close to even as possible. Then starting at the furthest point of the eyeliner, using a few strokes or one swift stroke if you are feeling confident, connect the eyeliner to the center of your eyelid along your lash line and then again draw another line connecting the center to the inner corner. Start thin –– it’s easier to build a thicker line on top than to erase. But in case of mistakes (which are somewhat inevitable with liquid eyeliner), keep a Q-tip and micellar water or a makeup wipe handy at all times.

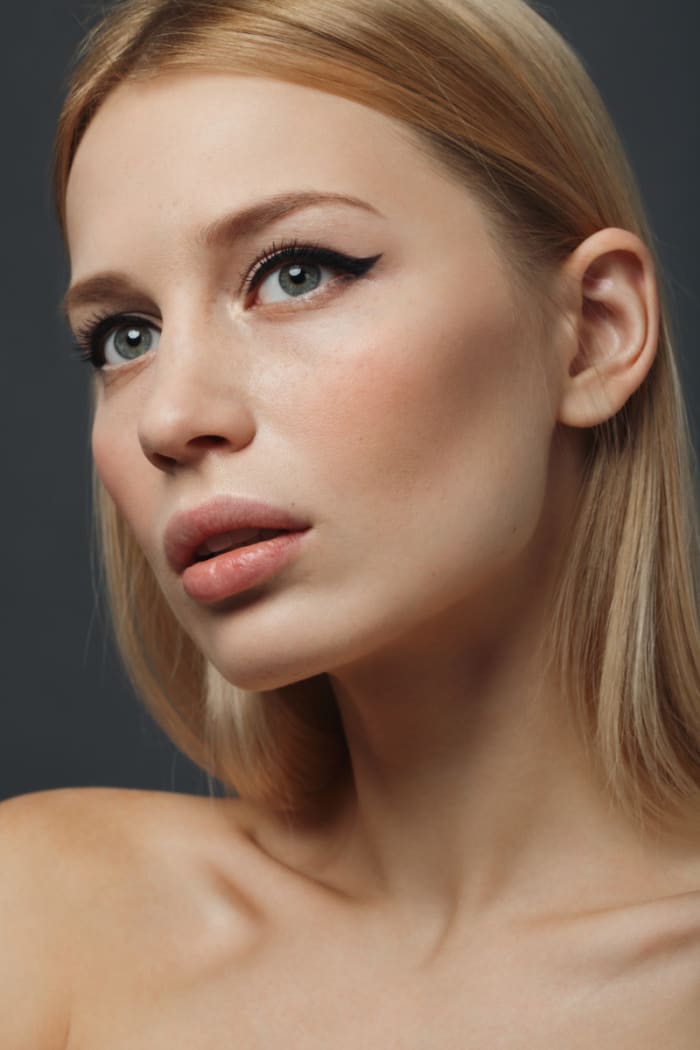
Portrait of beautiful blonde woman with cat-eye make-up.
Lambada/Getty Images
Eyeliner Option #3: Eyeshadow
If you are a beginner, try eyeshadow and an angled brush. It’s easy to build up and doesn’t need to be perfect. Grab any dark eyeshadow and a trusty brush—you might try this Elf ($5) one—and follow a similar technique as if you were using a liquid eyeliner. Dip the brush into the shadow using a bit of pressure and swipe to pick up more color. Start at the outer edge of your eye and create a wing. Feel free to go over the wing as many times until you get your desired length and opacity.
Don’t be discouraged if you can’t get it perfect the first time. The beauty of makeup is in the process and eyeliner is no exception to the learning curve. If one method doesn’t work, try another and if that doesn’t work, try the next.
